Continuous Deployment refers to the capability of your organisation to produce and release software changes in short and frequent cycles.
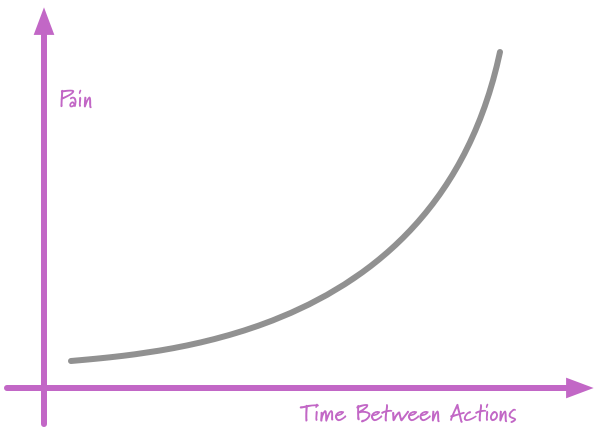
One of the ideas behind Continuous Deployment is that increasing the frequency of deployment of your changes to production will reduce the friction associated with it. On the contrary, deployment is often an activity that gets neglected until the last minute: it is perceived more as a necessary evil rather than an inherent part of a software engineer’s job. However, shifting deployment left, as early as possible in the development life cycle, will help surfacing issues, dependencies and unexpected constraints sooner rather than later.
For instance, continuously deploying will make it easier to understand which change caused issues, if any, as well as making it easier to recover. Imagine having to scan through hundreds of commit messages in your version control system history to find the change that introduced the issue…
Automatism is key to achieve continuous deployment.
The project
In this article we’re gonna explore how to leverage tools like GitLab Pipeline, Heroku and Docker to achieve a simple continuous deployment pipeline.
Let’s start by creating a simple Hello World application. For the purpose of this article I’m gonna use Create React App:
$ npx create-react-app continuous-deployment
$ cd continuous-deployment
$ npm start
Now that we have a running application, let’s build a Docker image to be able to deploy it to Heroku.
The container image
We’re going to write a simple Dockerfile to build our app:
FROM node:10.17-alpine
COPY . .
RUN sh -c 'yarn global add serve && yarn && yarn build'
CMD serve -l $PORT -s build
First of all, two things to keep in mind when building images for Heroku:
- Containers are not run with root privileges
- The port to listen on is fed by Heroku into the container and needs to be consumed from an environment variable
As you can see from the Dockerfile definition, we are starting the app by passing the PORT environment variable. We can now test the image locally.
$ docker build . -t continuous-deployment:latest
$ docker run -e PORT=4444 -p4444:4444
The -e PORT=4444 specifies which port we’re going to listen to. You can now try your application at http://localhost:4444.
Additionally, I’ve added a myuser user at the end of the Dockerfile, just to make sure everything still works with a non-root user.
Deploy to Heroku
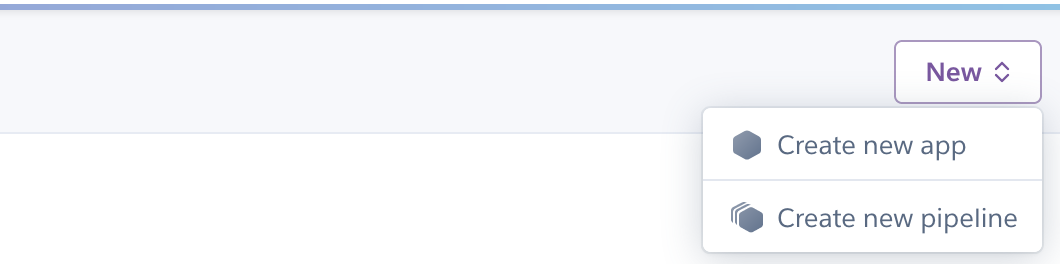
Before building our continuous deployment pipeline, let’s deploy manually to make sure our image is good. Create a new application on Heroku and give it a name. In my case it’s gonna be cd-alediaferia.
Now let’s tag and push our image to the Heroku Registry after logging in.
$ heroku container:login
$ docker tag <image> registry.heroku.com/<app-name>/web
$ docker push registry.heroku.com/<app-name>/web
And release it straight to Heroku:
$ heroku container:release -a web
You should now have your app successfully up and running on Heroku at this point.
The GitLab Pipeline
In this paragraph, we’re going to configure the pipeline piece on GitLab so that we can continuously deploy our app. Here follows the .gitlab-ci.yml file that I have configured for my repository.
stages:
  - build
  - release

build_image:
  only:
    - master
  image: registry.gitlab.com/majorhayden/container-buildah
  stage: build
  variables:
    STORAGE_DRIVER: "vfs"
    BUILDAH_FORMAT: "docker"
  before_script:
    - dnf install -y nodejs
    - curl https://cli-assets.heroku.com/install.sh | sh
    - sed -i '/^mountopt =.*/d' /etc/containers/storage.conf
  script:
    - buildah bud --iidfile iidfile -t cd-alediaferia:$CI_COMMIT_SHORT_SHA .
    - buildah push --creds=_:$(heroku auth:token) $(cat iidfile) registry.heroku.com/cd-alediaferia/web

release:
  only:
    - master
  image: node:10.17-alpine
  stage: release
  before_script:
    - apk add curl bash
    - curl https://cli-assets.heroku.com/install.sh | sh
  script:
    - heroku container:release -a cd-alediaferia web
In the above snippet we have defined two jobs: build_image and release.
build_image
This job specifies how to build our Docker image. If you look closely, you’re actually going to notice that I’m not using Docker specifically but Buildah. Buildah is an OCI-compliant container building tool that is capable of producing Docker image with some minor configuration.
release
This job performs the actual release by pushing to your Heroku app.
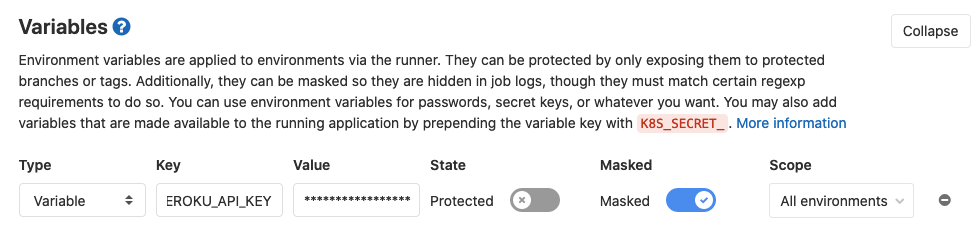
Additional configuration
Before trying our pipeline out, let’s configure the HEROKU_API_KEY so that it can get picked up by the herokucli that we’re going to use in the pipeline definition.
Pushing to GitLab
Now that we have set everything up we are ready to push our code to the deployment pipeline.
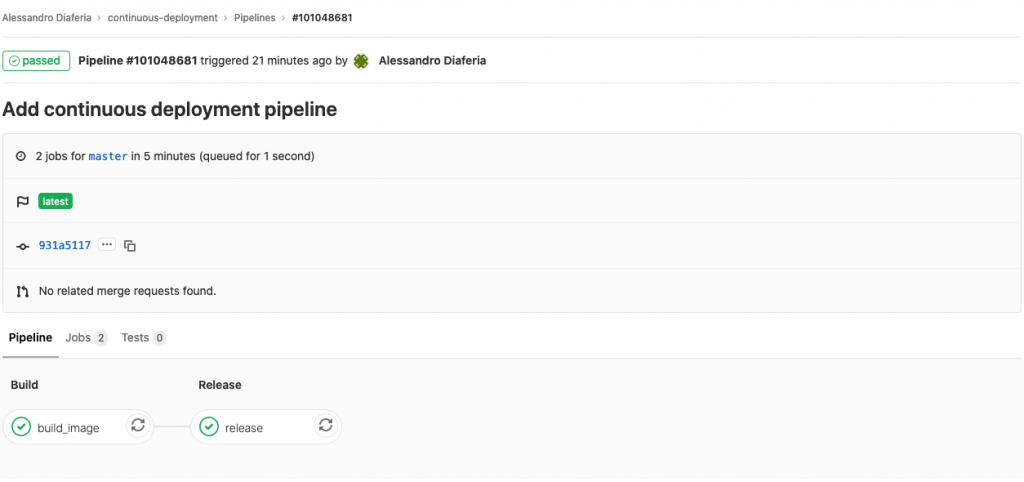
Let’s have a look at the build step that GitLab successfully executed.
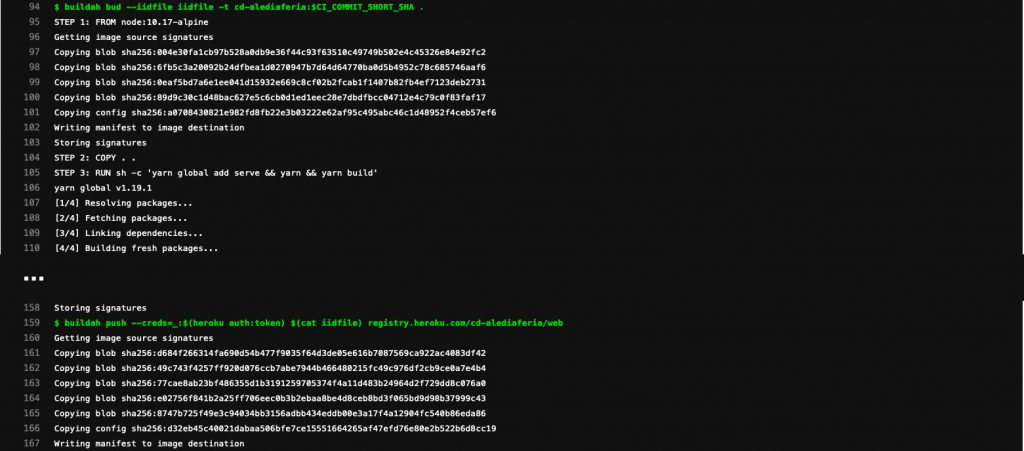
The first line uses buildah to build the image. It works pretty much like docker and I’ve used --iidfile to export the Image ID to a file that I then read from the command-line in the subsequent invocation.
The second line simply pushes to the Heroku Registry. Notice how easily I can log in by doing --creds=_:$(heroku auth:token): this tells buildah to use the token provided by Heroku to log into the registry.
The deployment job, finally, is as easy as:
$ heroku container:release -a cd-alediaferia web
Conclusion
My app is finally deployed, and everything happened automatically after my push to master. This is awesome because I can now continuously deliver my changes to production in a pain-free fashion.
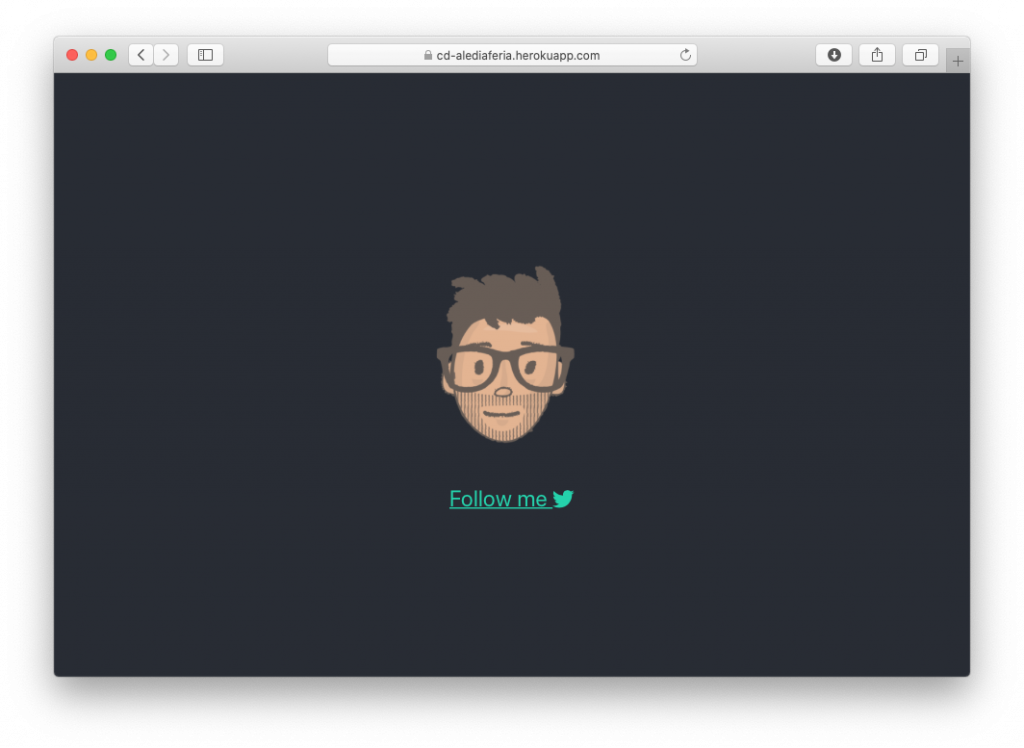
I hope you enjoyed this post. Let me know in the comments and follow me on Twitter if you want to stay up-to-date about DevOps and Software Engineering practices.
Leave a Reply